Make a Fake Rock Interior: Step by Step
Equipment required
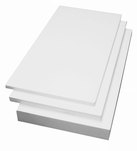
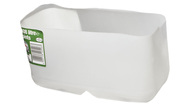
Polystyrene/ Styrofoam
|
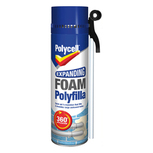
Expanding Foam
|
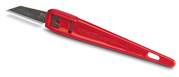
Craft Knife or Stanley Knife
|
Lighter or Gas Lighter
|
Grout
|

Grout Spreader
|
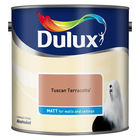
Water Based Paint
|
Paint Brush
|
Sand
|
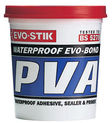
PVA Glue / Epoxy Resin
|
Water Based Sealer/ Varnish
|
Sand Paper
|

Toothpicks
|
Mixing Tub for Grout (I use half of a six pint plastic milk container)
|
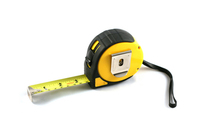
Measuring Tape
|
Pen
|

Newspaper
|
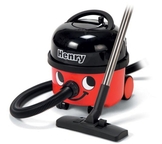
Vacuum Cleaner
|
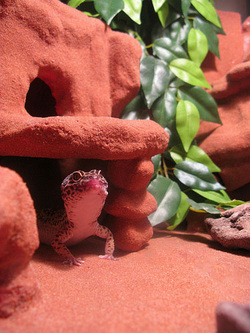
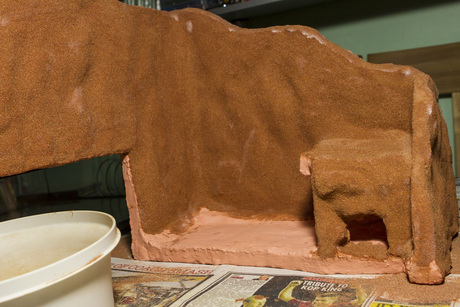
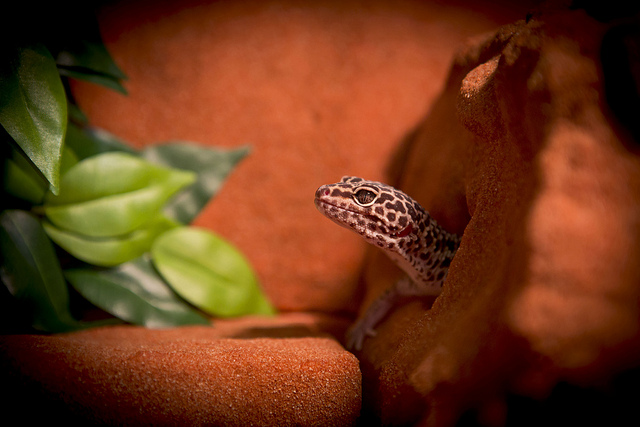
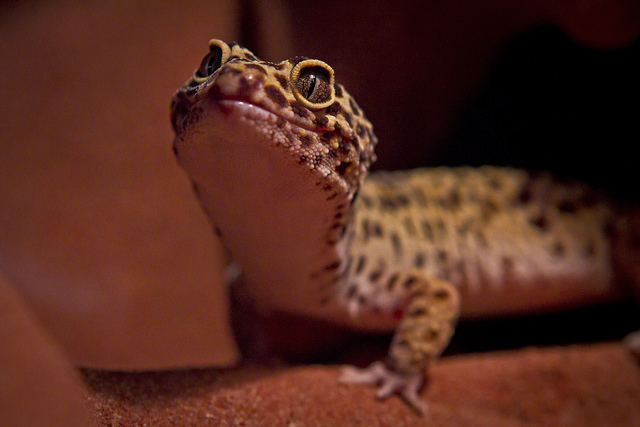
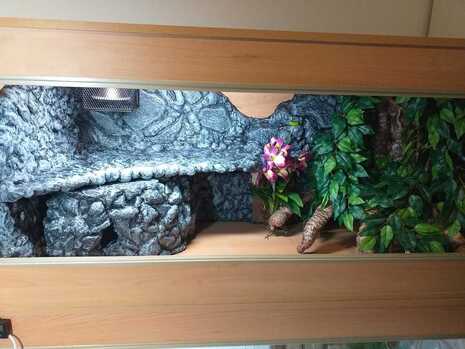
Before starting work on your fake rock interior, make sure your design is appropriate to the species in your care and will facilitate the reptiles natural behaviours. The interior below is designed with leopard geckos in mind. To start cover your work table with newspaper to keep things clean, don't forget to keep your vacuum cleaner handy to one side, once you start cutting into that polystyrene a mess is assured!
Step 1:
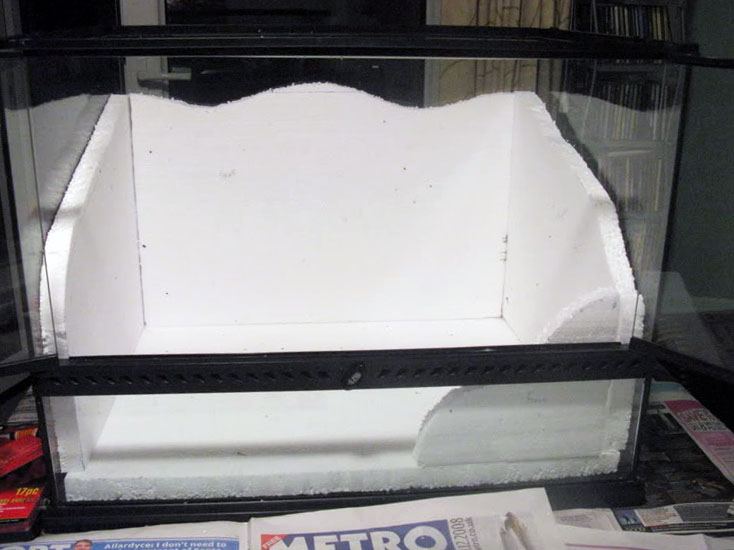
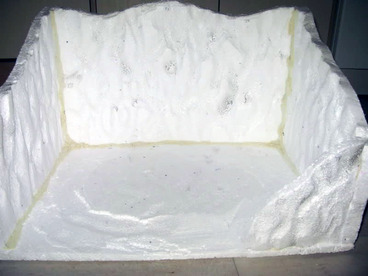
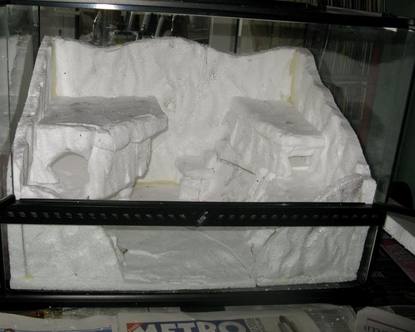
The first step to creating a fake rock interior is to measure out the dimensions of your enclosure and cut out the polystyrene to size then make sure everything fits. Make the interior smaller than a perfect fit, as you need to keep in mind that the grout will increase its thickness.
The first step to creating a fake rock interior is to measure out the dimensions of your enclosure and cut out the polystyrene to size then make sure everything fits. Make the interior smaller than a perfect fit, as you need to keep in mind that the grout will increase its thickness.

|
|
Step 2:
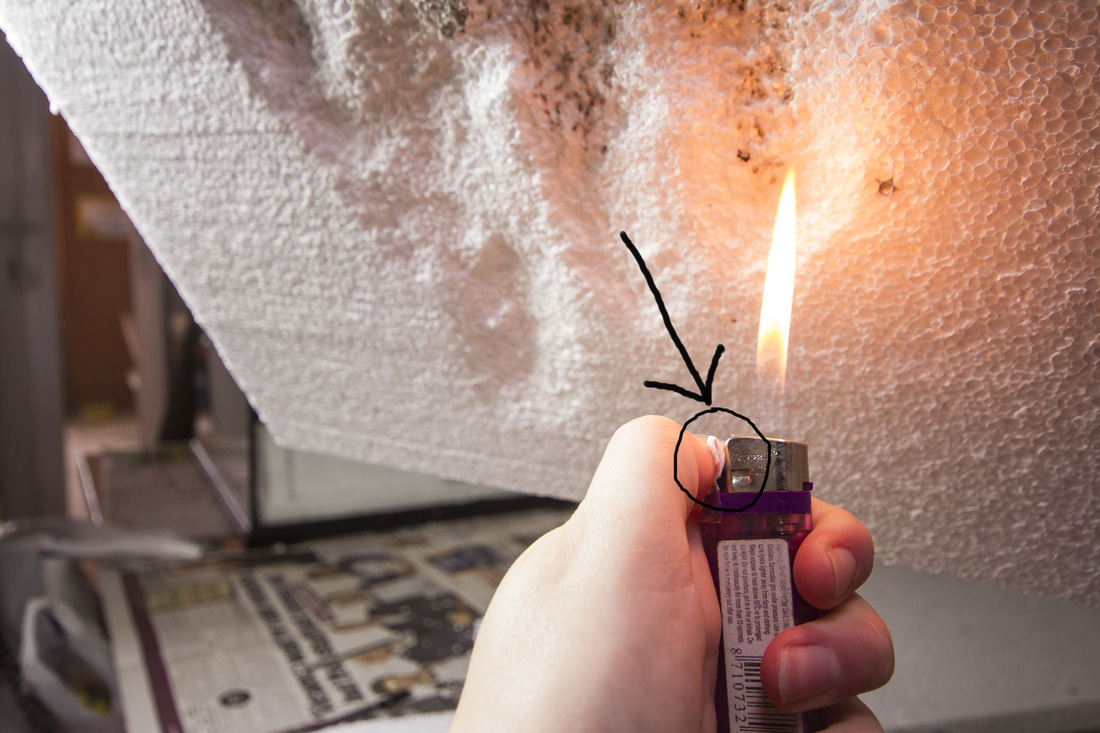
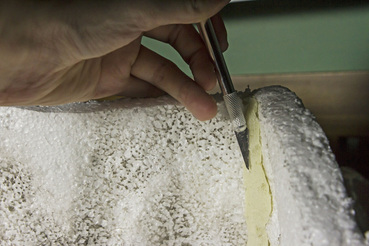
Now that you've got all your sides cut out, the polystyrene can be shaped to give it a more rocky appearance. This is achieved by using a lighter to burn detail into the polystyrene.
NB: If using a lighter as apposed to a gas lighter, bear in mind that the thumb is at risk of blistering form the heat, a small piece of tissue positioned between the thumb and lighter creates an effective heat barrier.
|
|
Step 3:
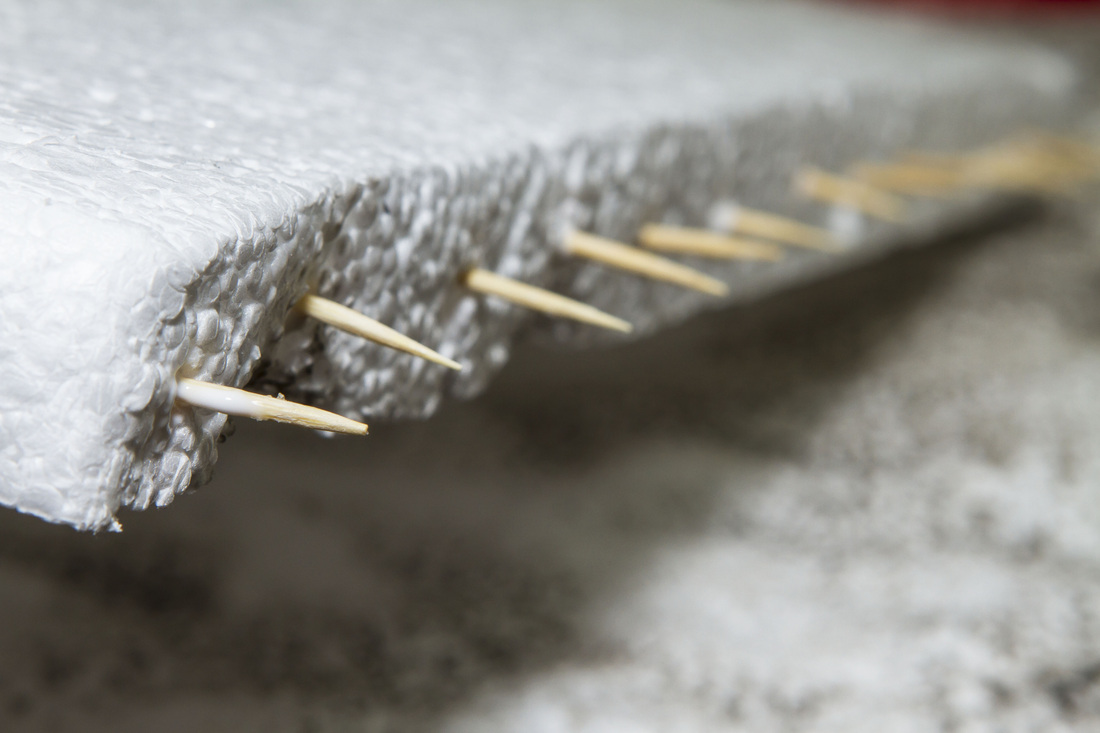
Now that all the sides have been prepared, they can be joined together using the PVA glue, toothpicks and expanding foam. Toothpicks are snapped in half, dipped in PVA and inserted along the edge of one side so it can be attached to another side. The expanding foam fills in any gaps between the two sides and permanently fixes them together. Once the foam dries the excess can by cut away and sanded down so the foam is flush to the walls.
|
|
Step 4:
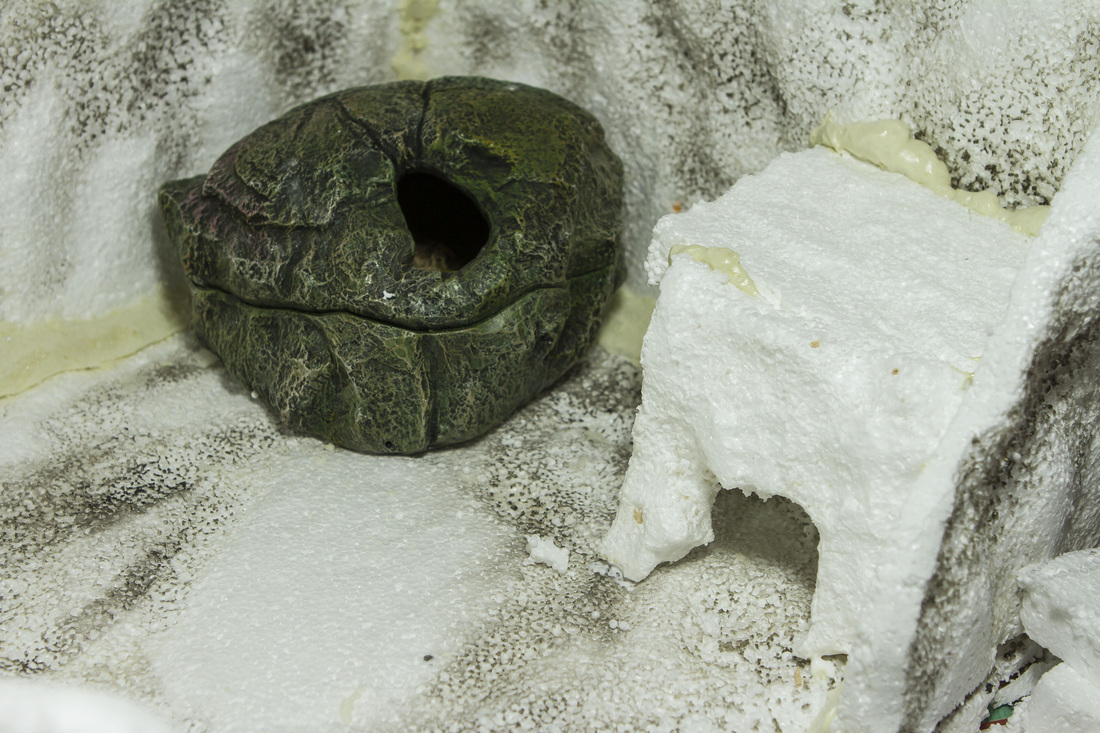
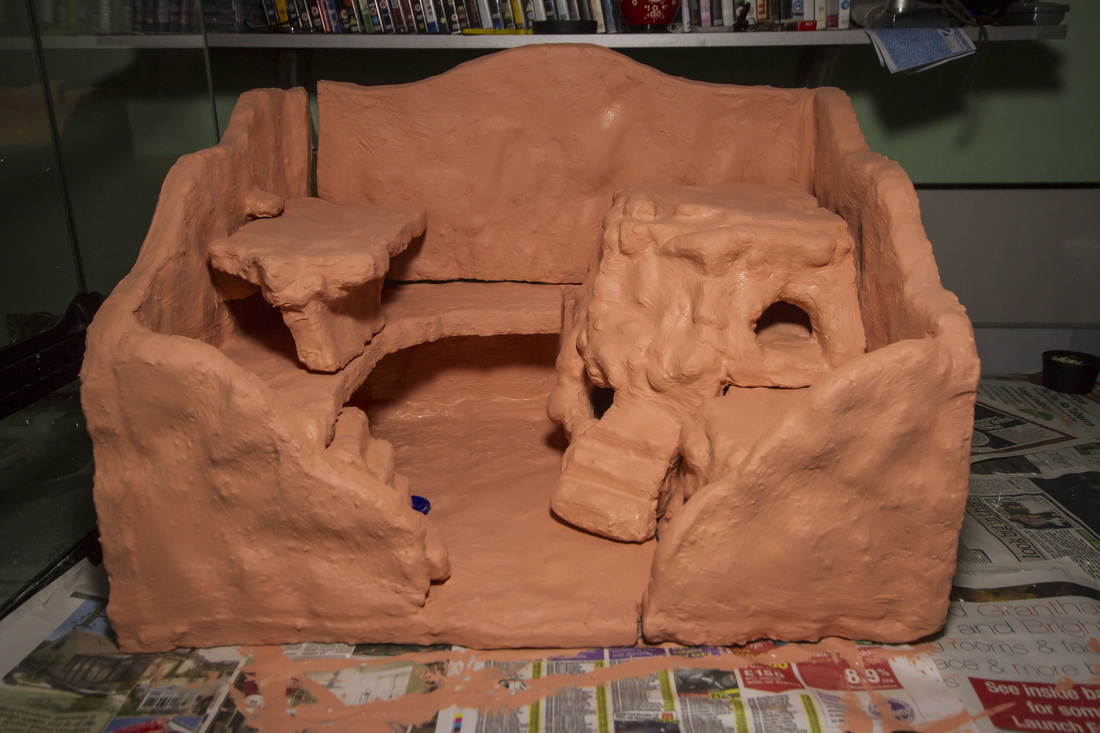
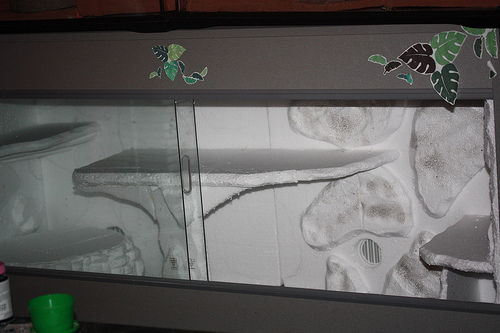
After you're happy it all fits and the edges have been fixed together you can now focus on creating the hides. Different pieces of polystyrene can be cut into shape and PVA and cocktail sticks used to secure the pieces together. Expanding foam may also be used to fill gaps and secure pieces more securely. The entire structure can also be cut in half in a way that allows you to easily remove it from the enclosure.
NB: You will have to make removable pieces so you can gain access to the hides for retrieving the animal and cleaning. You may also want to work around a separate humid hide.
|
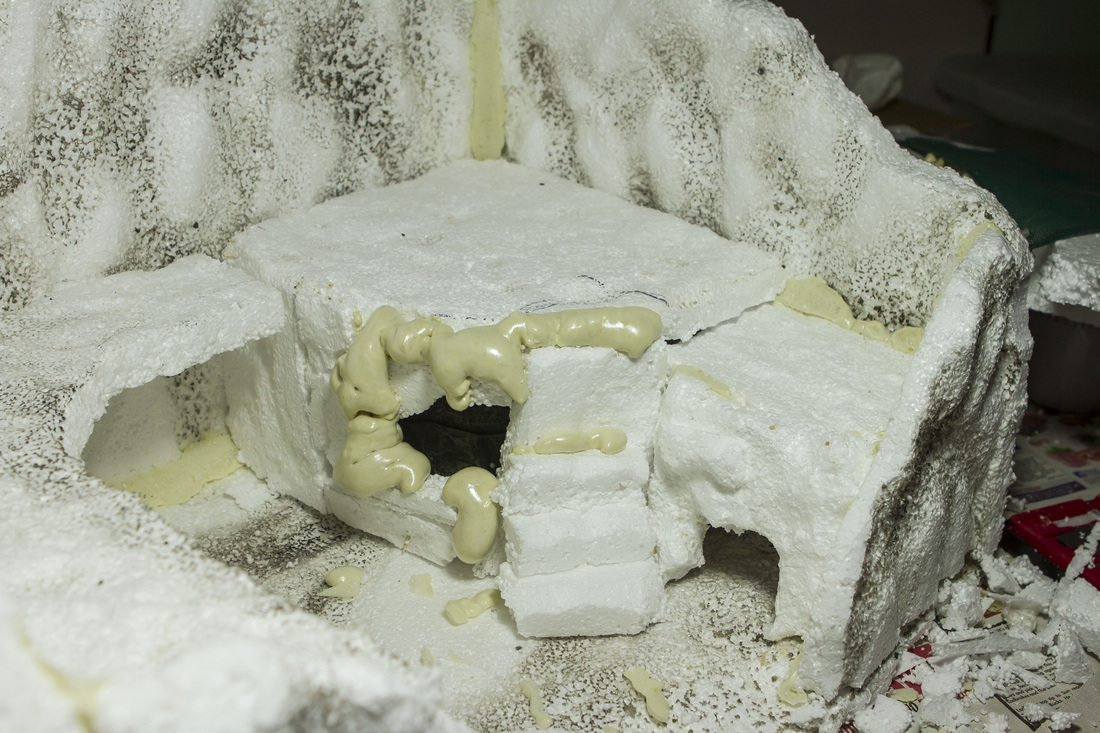
The entire section over the humid hide is removable.
|
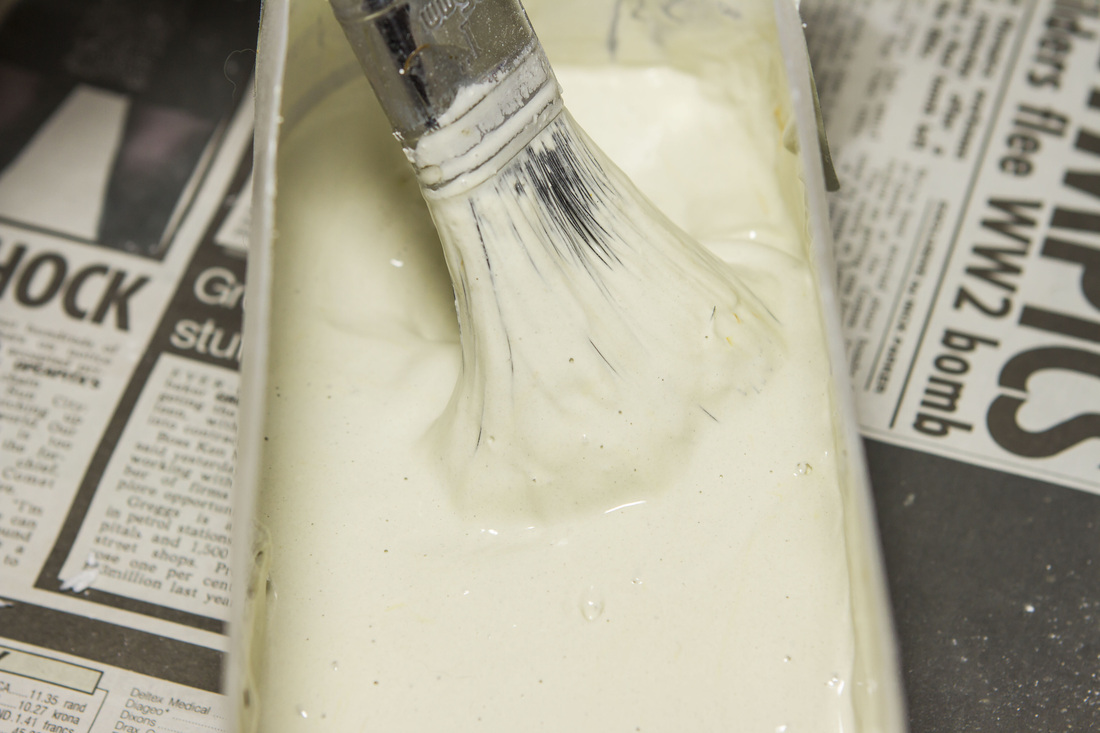
Step 5:
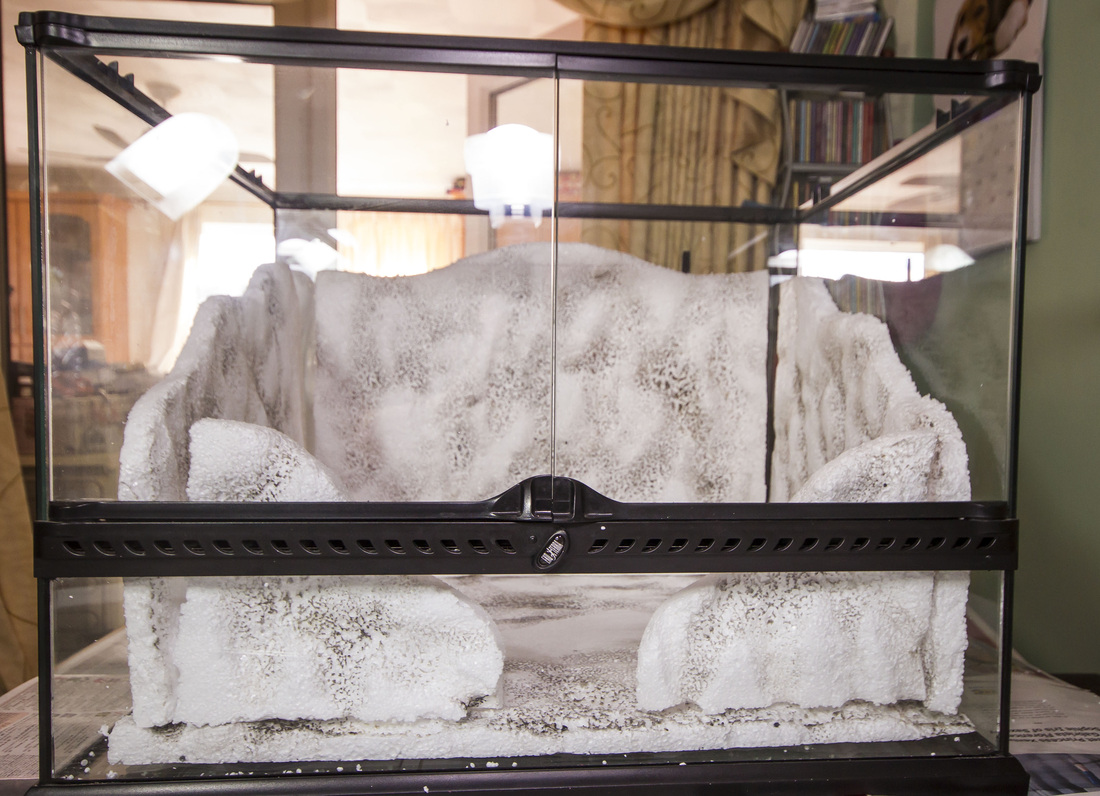
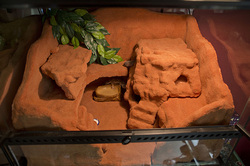
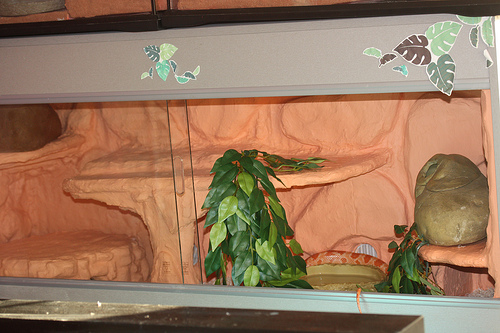
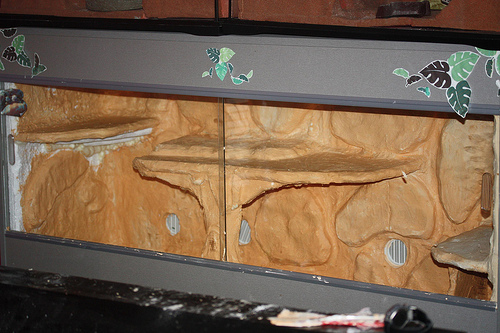
Now all the sculpting is done, your happy it all fits into place and sure that the enclosure is easily removable its time to grout the entire thing. Grouting gives the structure integrity, several layers will need to be applied (usually around 4) to create enough integrity. the grout can be applied using a paint brush and grout spreader. The first layer can be a little runny to allow it to ooze into all the gaps, thicker layers can be applied later. Thick grout can be shaped and used to fill any gaps. With each different layer, coloured paint can be added to the mix so you can easily identify where you've applied your new layer. I alternate between adding paint and no paint to the grout.
NB: remember to keep checking after each layer that your pieces still all fit together, hopefully you've remembered to take into account the thickening of your pieces when grout is applied.
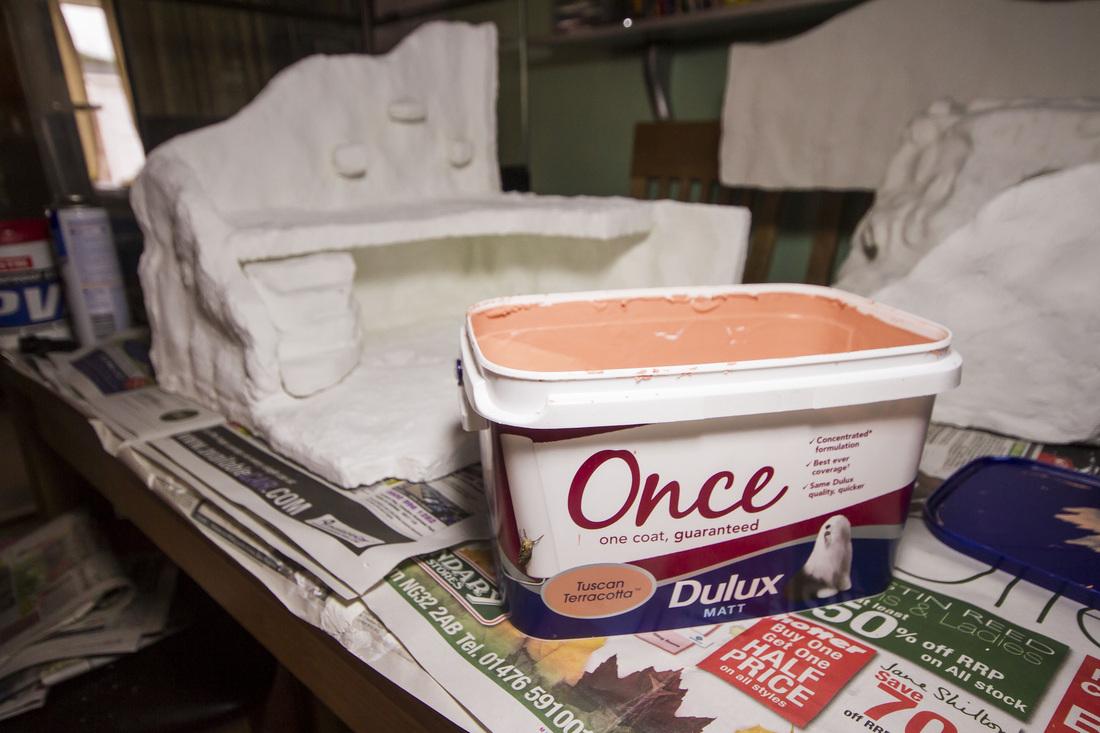
Water-based Matt Paint - Tuscan Terracotta
|
|
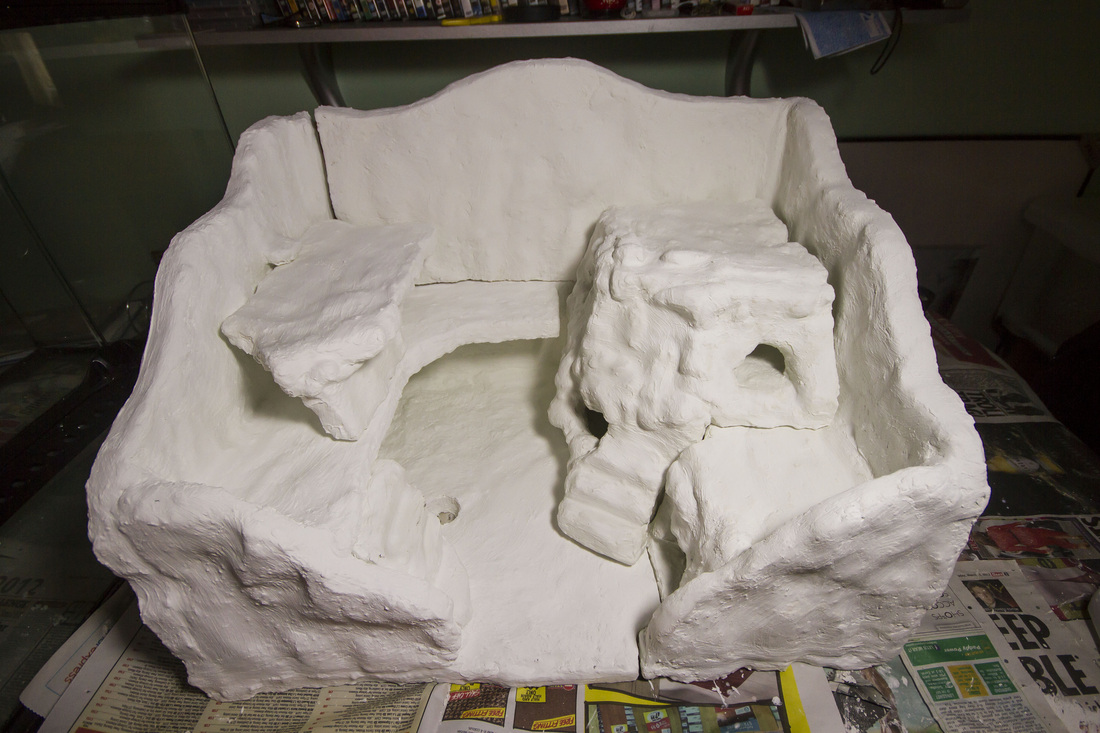
Step 6:
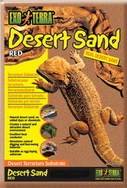
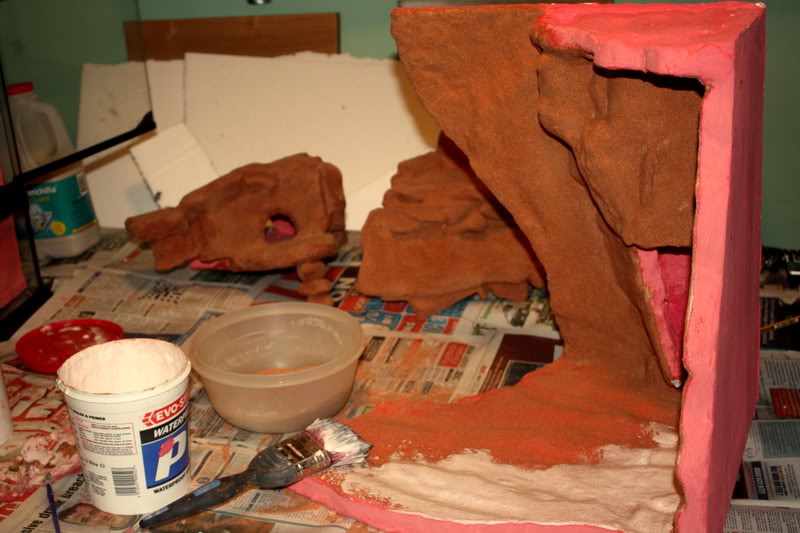
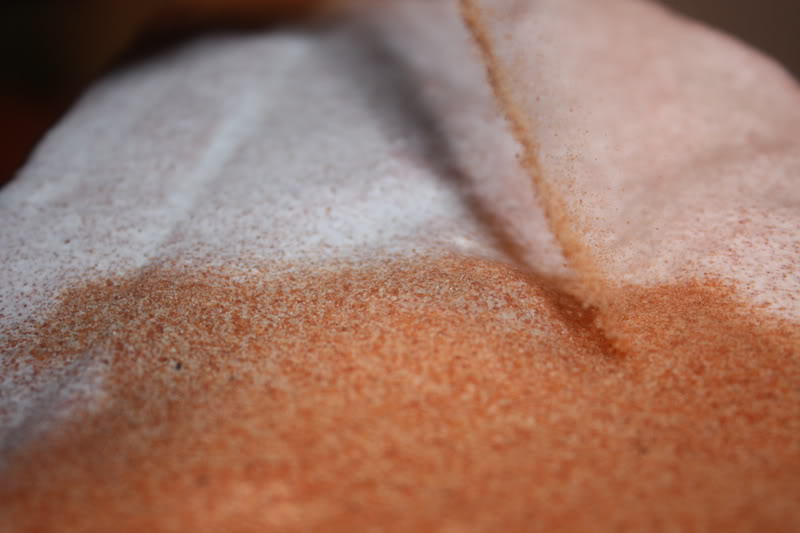
After all layers of grout have been applied and the design is sturdy, the sand can be applied. 4 layers is often required for full coverage. The inside of the hides and outer-side of the design doesn't need sand adding. The sand is applied by painting on PVA glue to adhere the sand. I use a mix of red and yellow Exo-Terra desert sand. PVA is water based so is safe once dried.
|
|
Step 7:
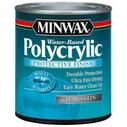
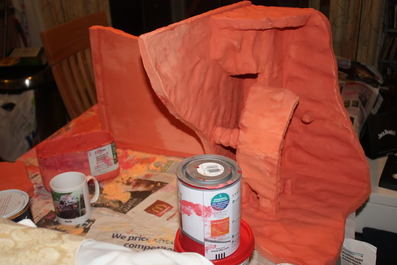
The Final step is to waterproof the structure for protection against reptile waste and for easy cleaning. It can be coated in a varnish such as Water Based Polycrylic Satin Sealer. I've also had success with using yacht varnish and matt floor varnish. Others have suggested using epoxy resin, or other water-based varnishes. Avoid oil-based products for the sealer.
Step 8:
Allow the whole thing to thoroughly dry for a few days then you can add any decor and move the new residents in. Faux leaves can be useful in hiding any cut lines where the enclosure can be separated into its individual pieces.
|

|
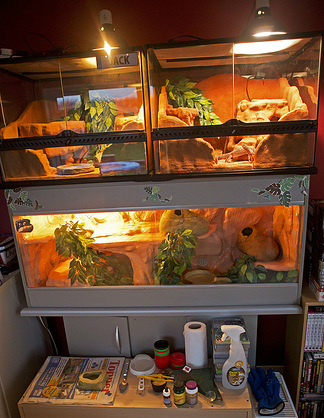
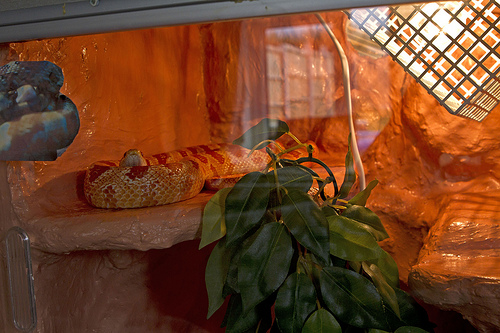
For the Corn Snake enclosure a fake rock floor has not been added, only the walls and ledges have been designed. These walls and ledges sit permanently within the enclosure. I have built ledges to elevate the hides and constructed a basking ledge near the heat lamp which gets used frequently by my corn snake. I did not adhere sand to this enclosure so not to irritate the skin of the snake.
|
|
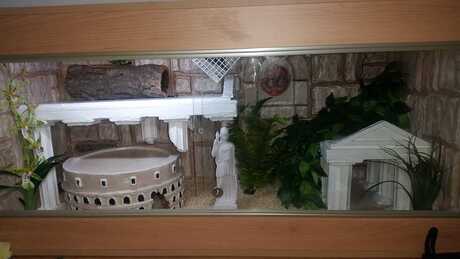
Other builds I've made...
©2014 Cat Read
